Creating a PyCharm project
We are going to create a single project for CS 110 where you will store all of the code for your labs, homeworks, and projects.
Windows
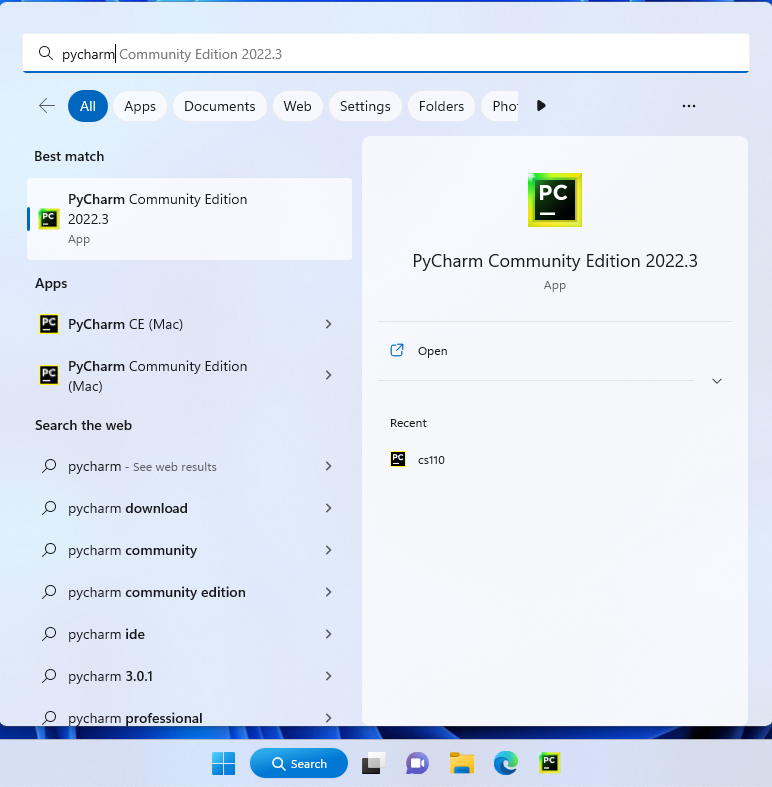
After you have installed PyCharm, you can run it like any other program you have installed. Open the Start menu and in the search box at the top, type pycharm. You will see PyCharm Community Edition show up in the search results:
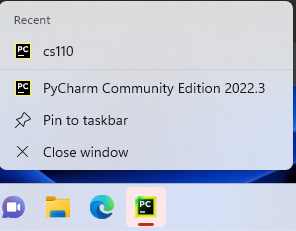
Click on this to start PyCharm. Once you do that, you can add PyCharm to your taskbar, which is the bar of icons on the bottom of your screen. Right click on PyCharm in the taskbar and choose Pin to taskbar:
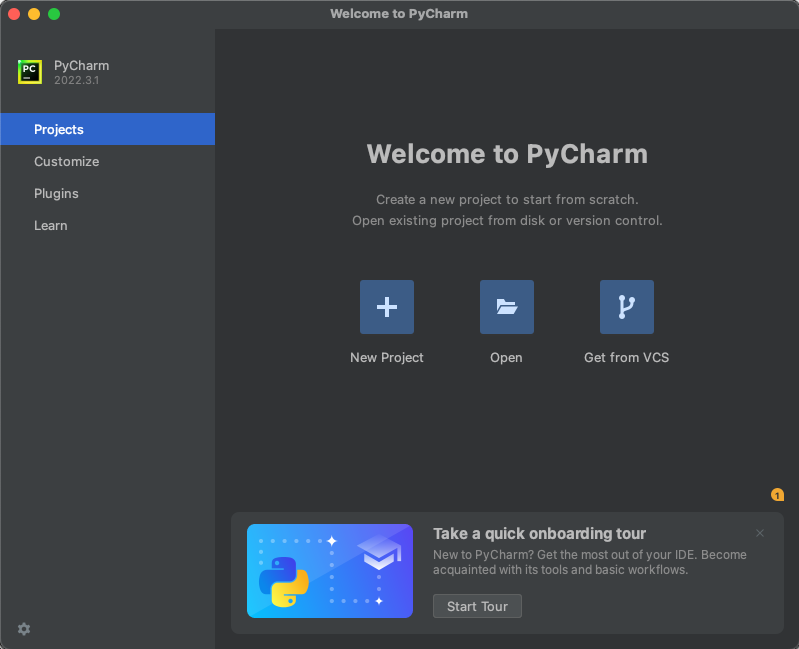
When you start PyCharm you will see the welcome screen:
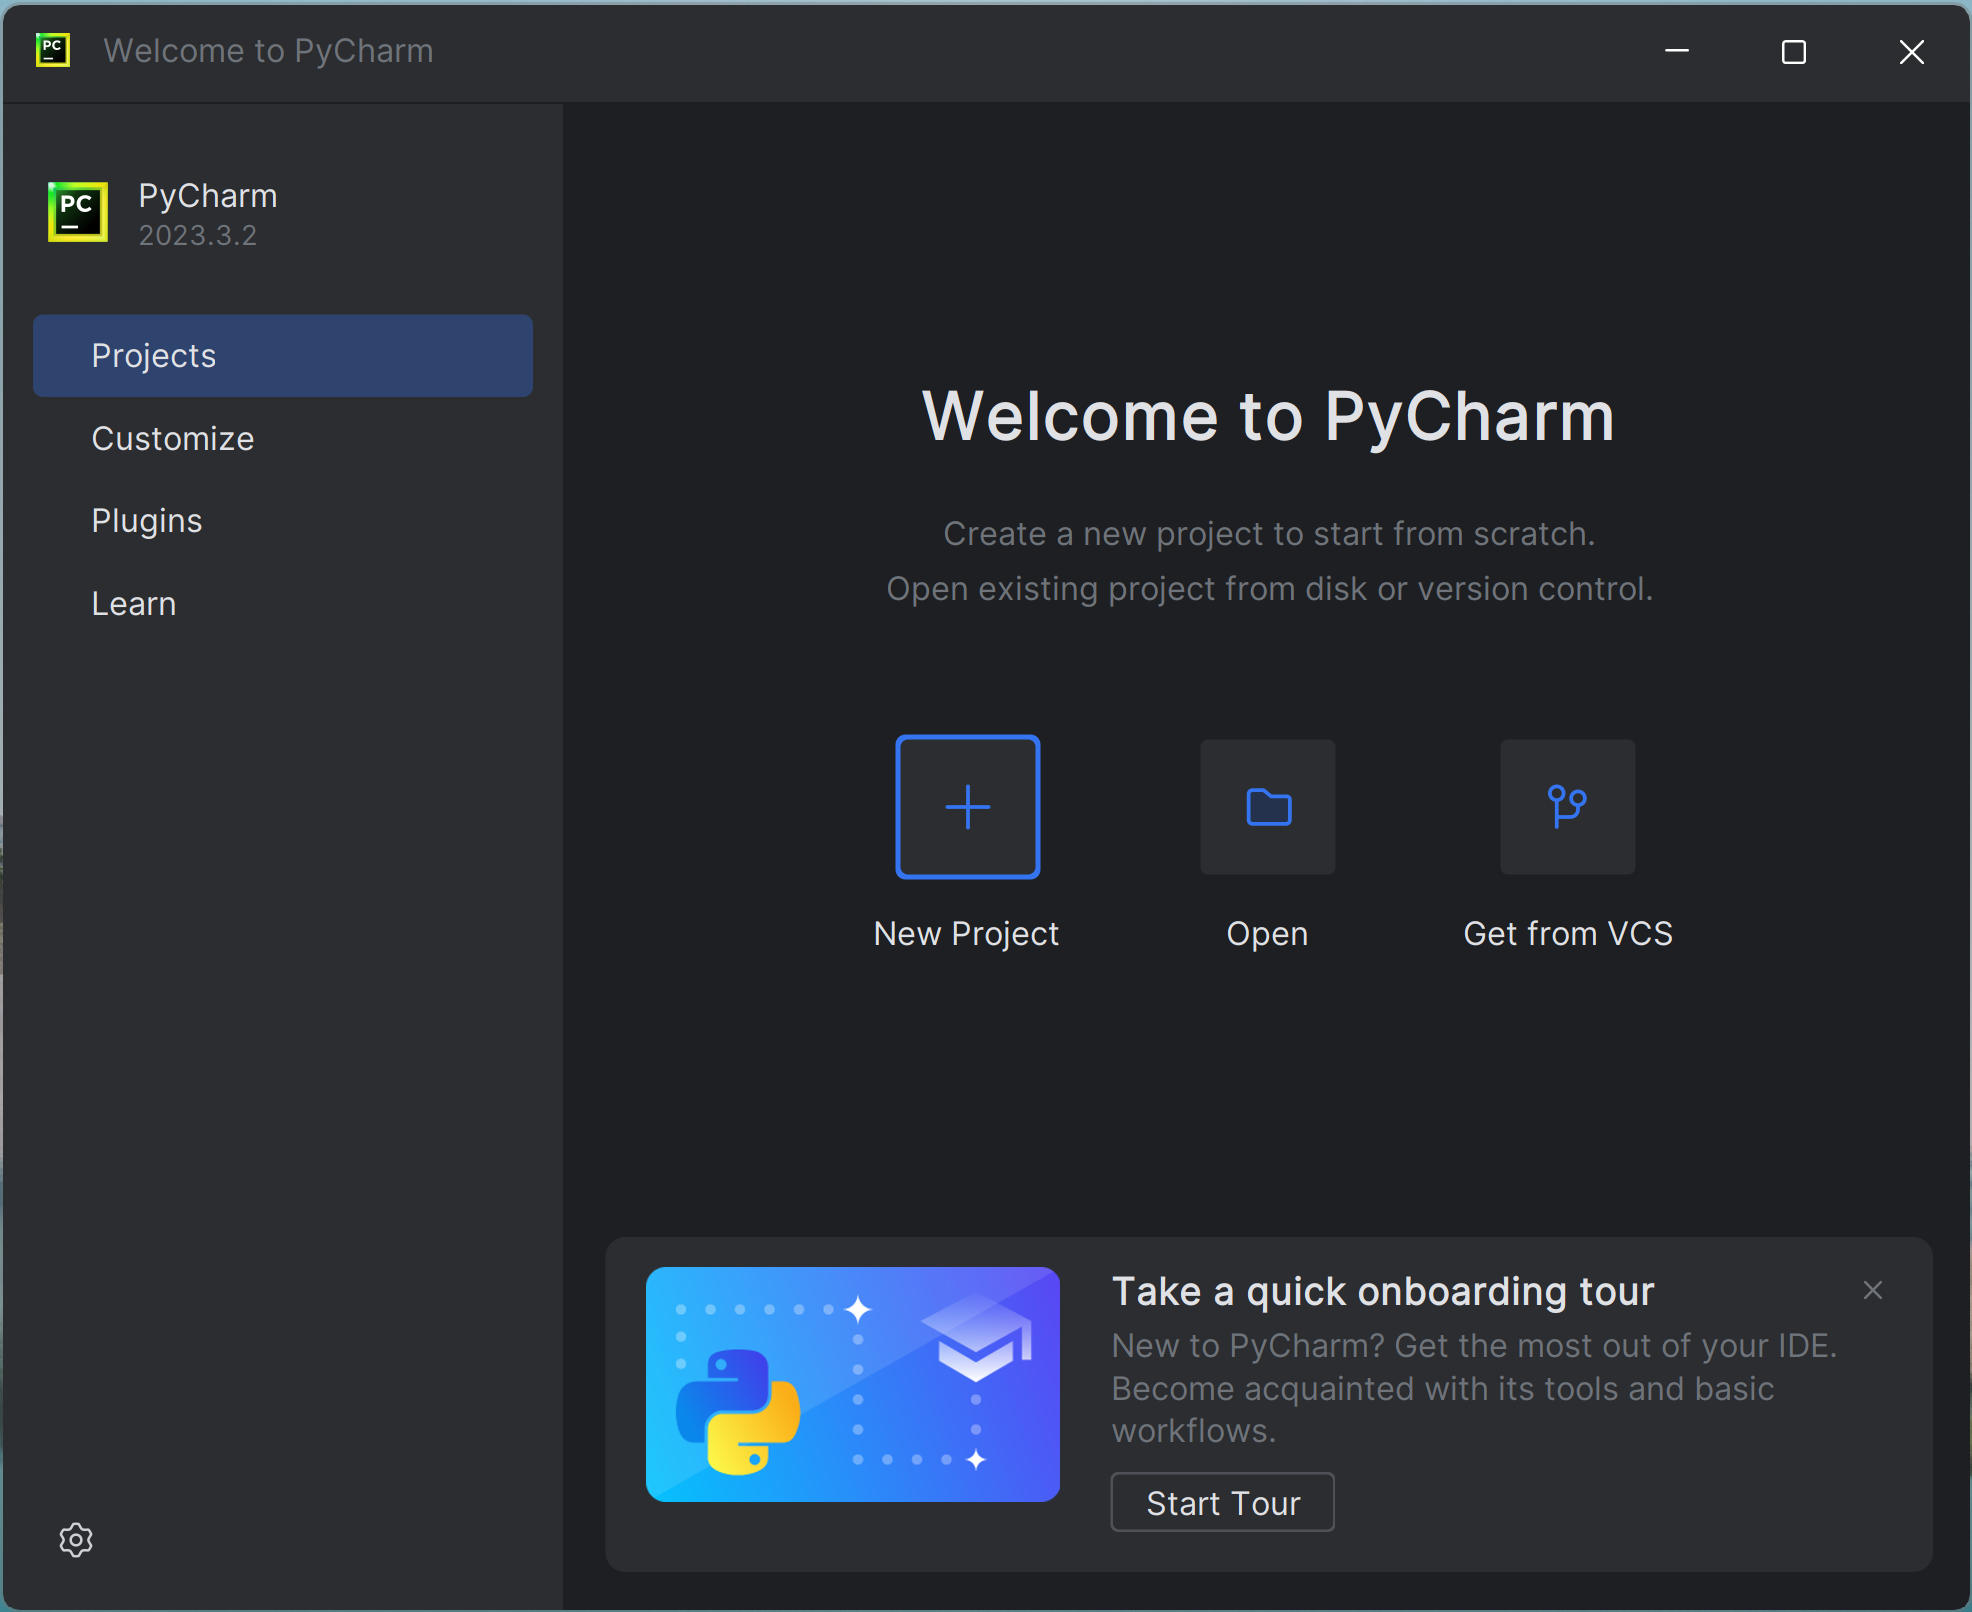
On this screen, click the New Project button. Next you will see this screen:
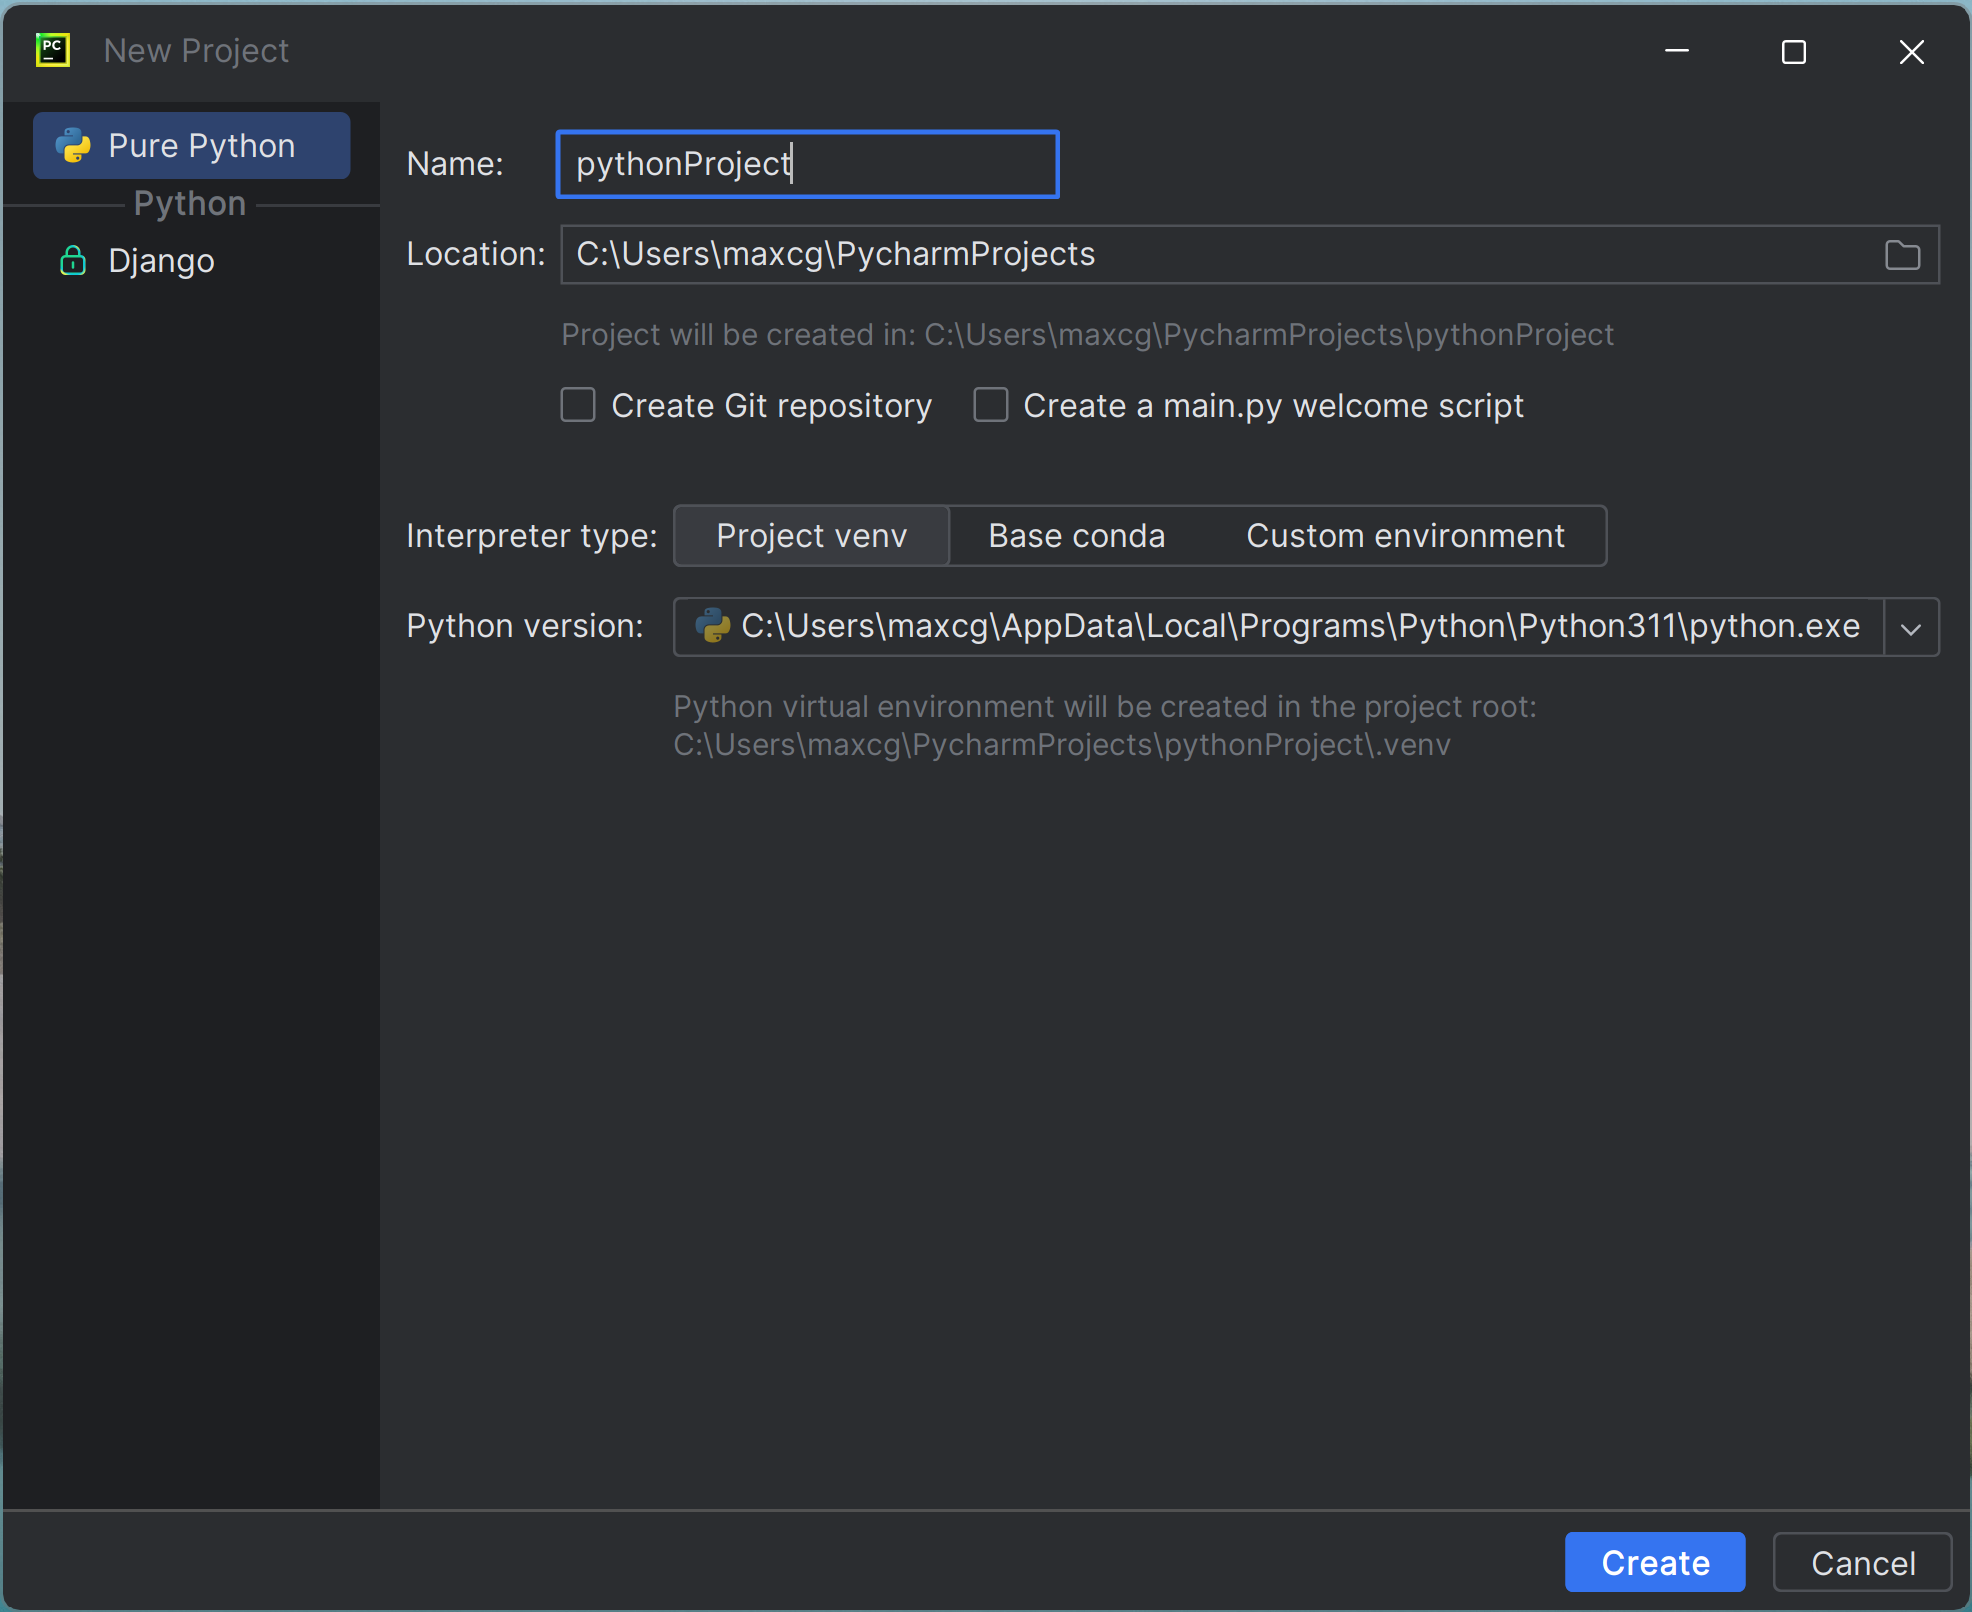
Notice how by default it wants to store projects in C:\Users\USERNAME\PycharmProjects\pythonProject.
So that you can more easily find your projects, you want to instead store your project in your Documents folder.
To do this, click the folder icon to the right of the Location box, so that you can choose where the project will be stored. Navigate to your Documents folder. Then, in the Name box, name your projct cs110. This will create a new folder called cs110 inside of your Documents folder when you create the project.
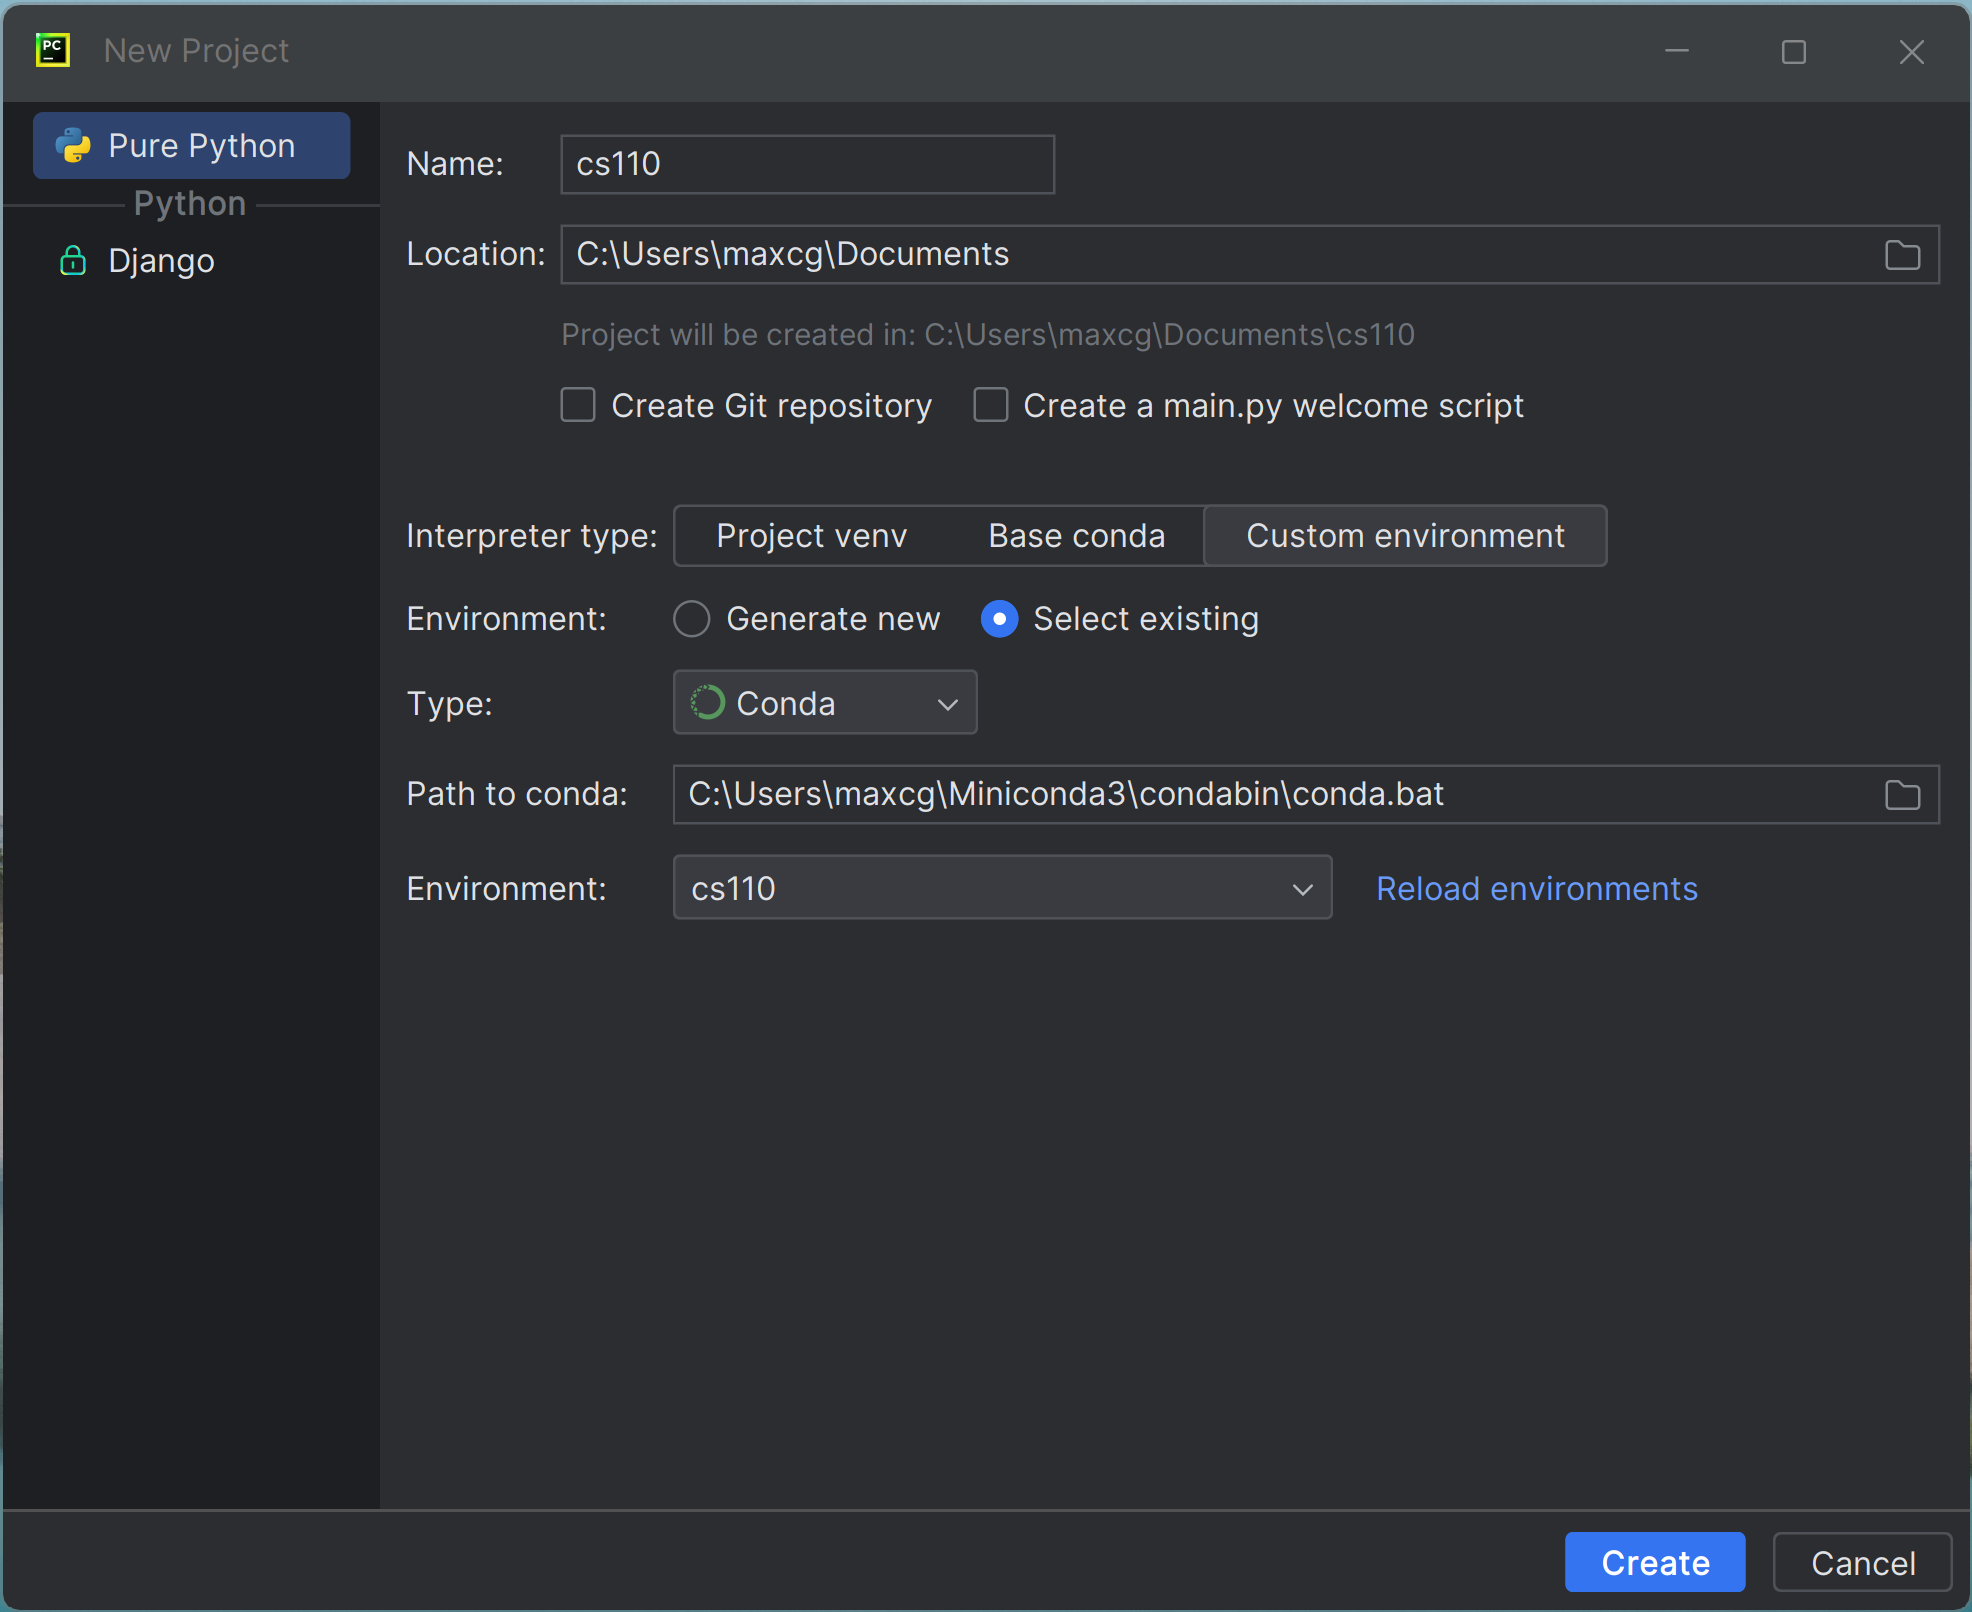
On Windows, it looks like this:

Select the Custom environemnt option.
Below that, select the Select exsisting button, then choose Conda as the type of interpreter.
In the Environment dropdown, select the cs110 environment that you should already have created. If cs110 does not appear, follow the directions to create a conda environment at the bottom of the guide on installing Python.
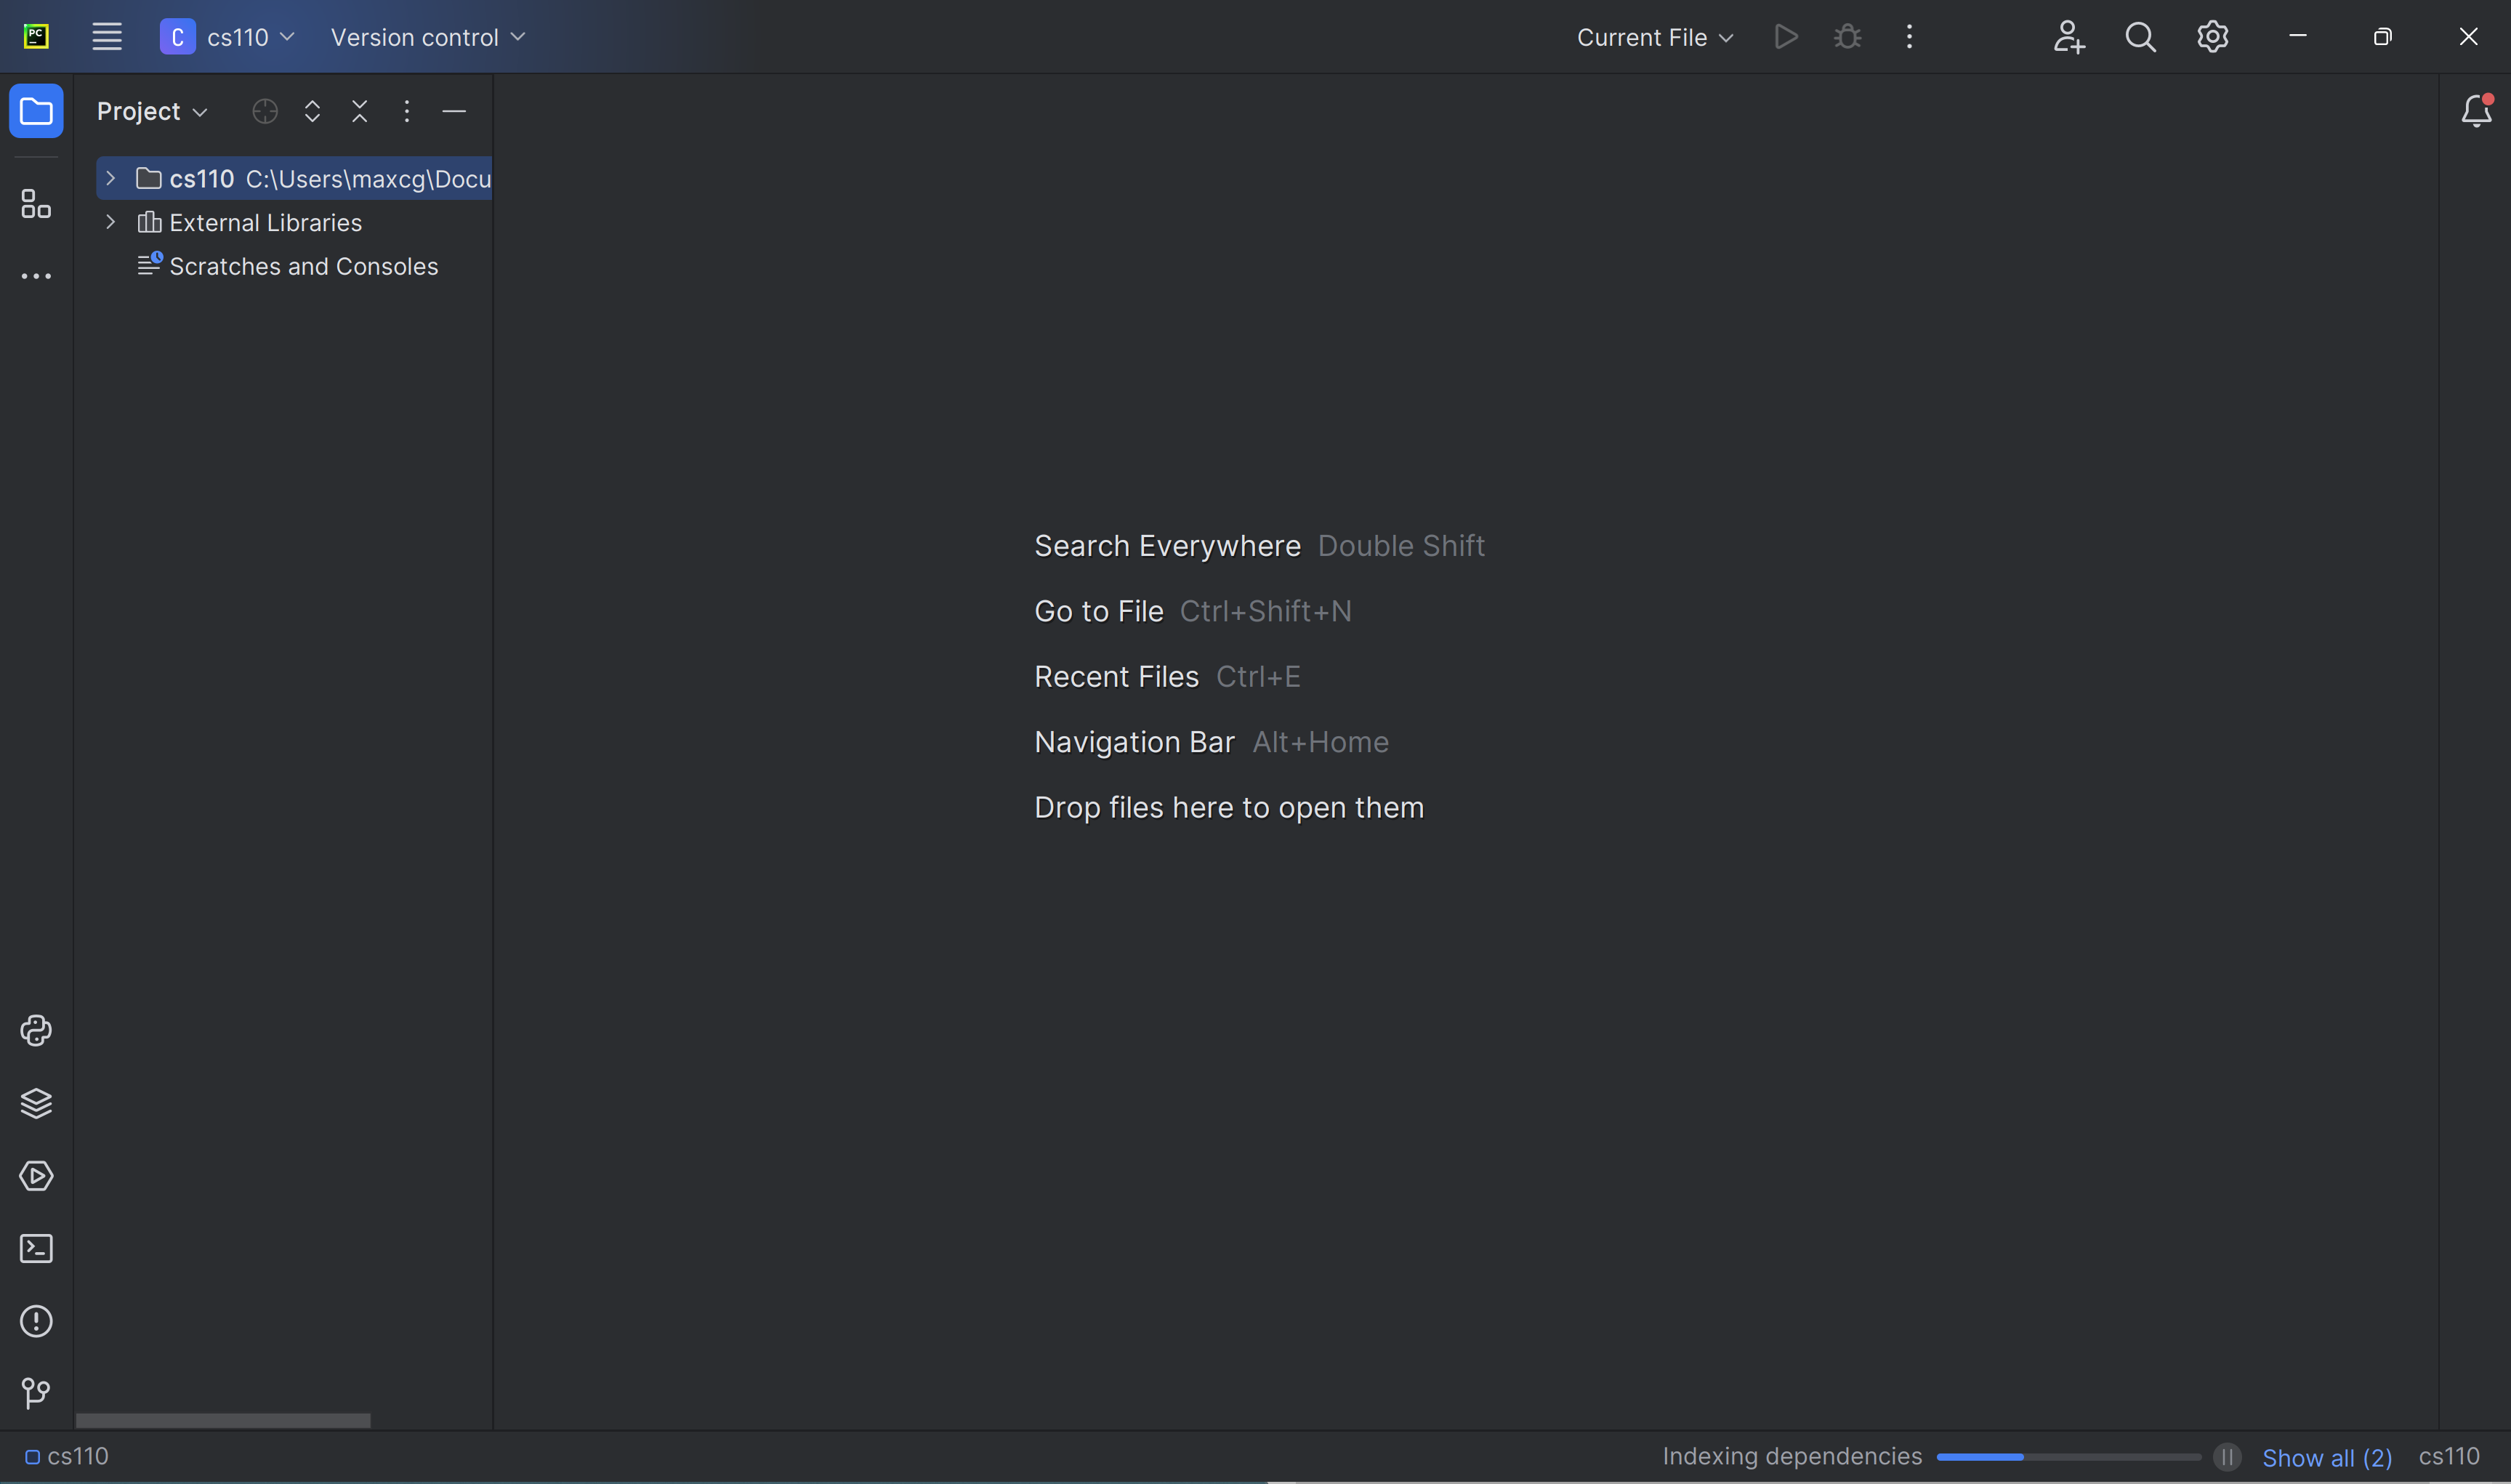
Click the Create button, and you will finish creating your CS 110 project.
MacOS
After you have installed PyCharm, you can run it like any other program you have installed. The easiest way to do this on MacOS is to use Spotlight. Press Command + spacebar and type in pycharm. You can also locate it in the Finder by clicking on Applications on the left. You can then drag PyCharm to your Dock.

Run PyCharm and you will see the welcome screen:
On this screen, click the New Project button. Next you will see this screen:
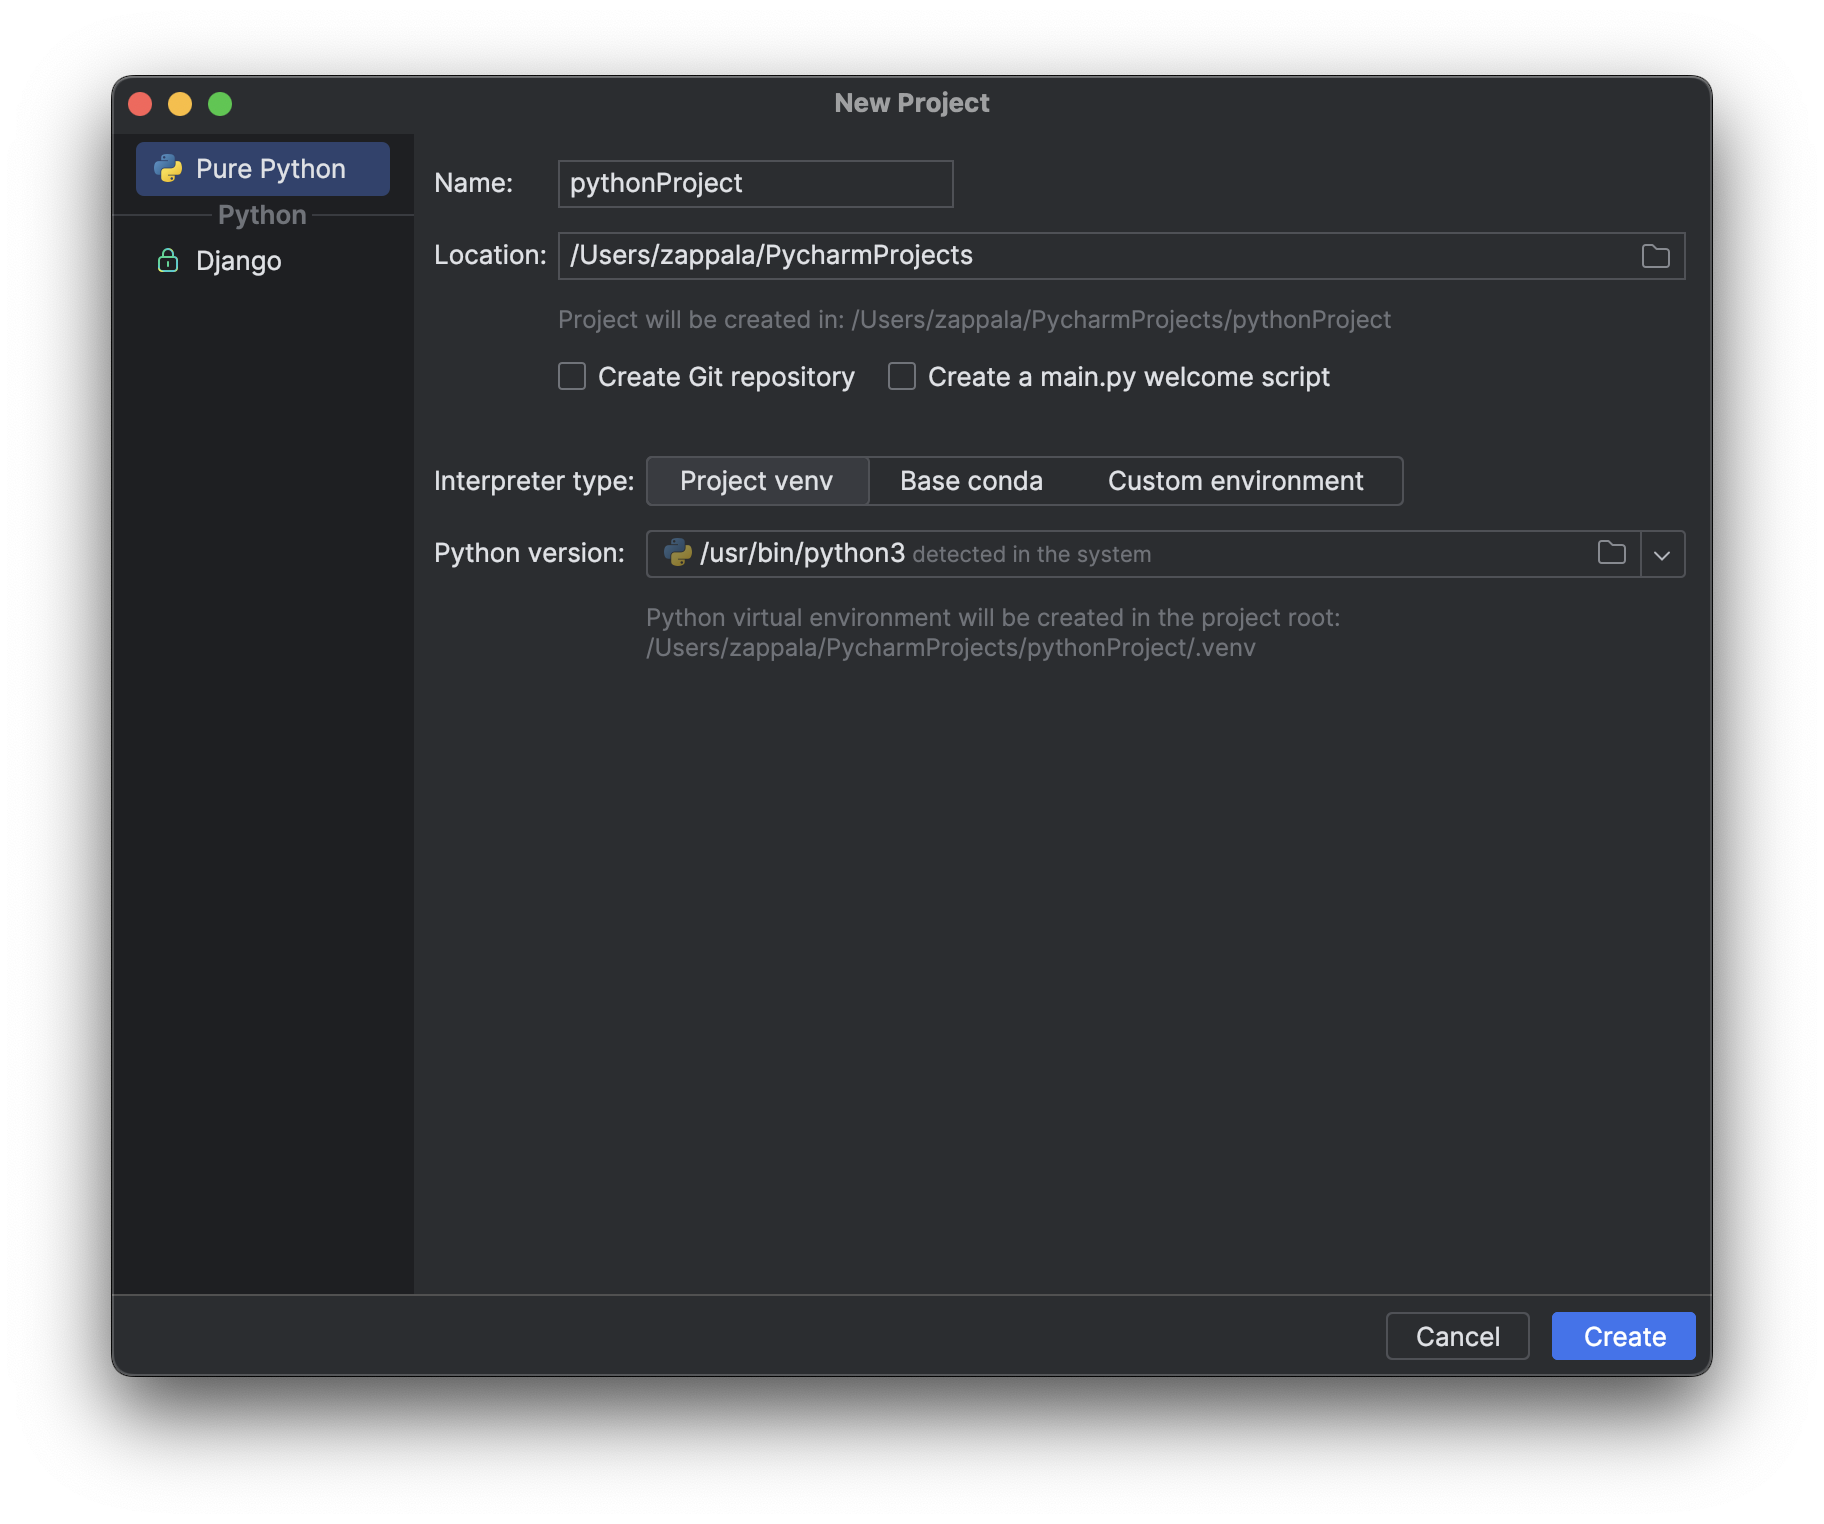
Notice how by default it wants to create a project called pythonProject and store it in /Users/USERNAME/PycharmProjects.
So that you can more easily find your projects, you want to instead store your project in your iCloud/Documents folder. Modify these boxes:
Name: cs110Location: /Users/USERNAME/iCloud/Documents
Be sure to use your own username, and not USERNAME. It should already be listed there.
Now follow these steps:
- Click
Custom environment - Click
Select existing - Change
PythontoConda - Change
Environmenttocs110
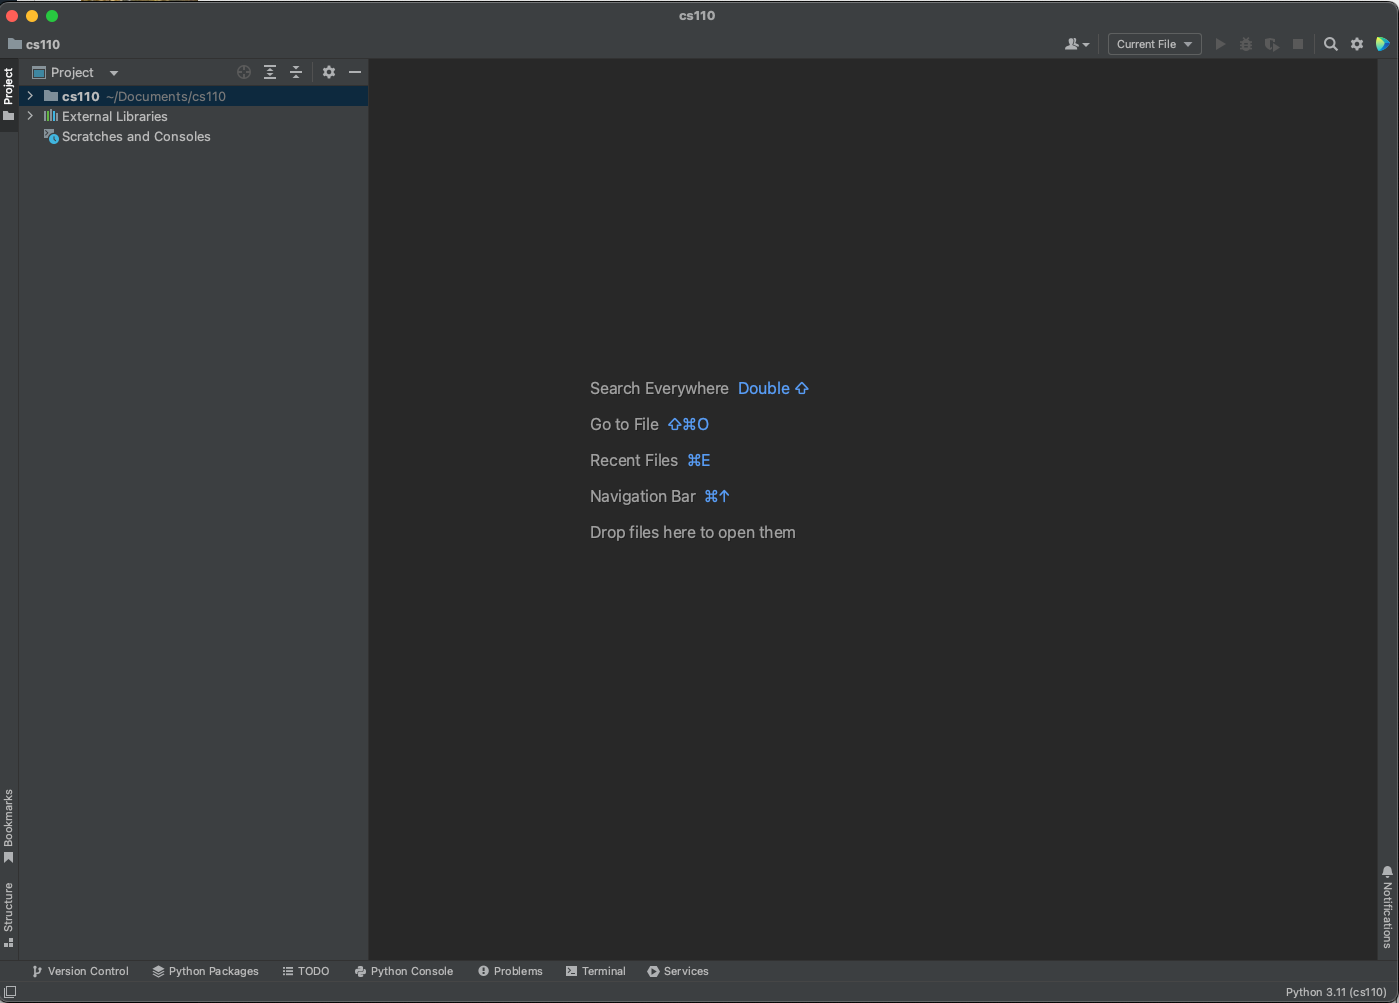
In the end, the new project screen should look like this:
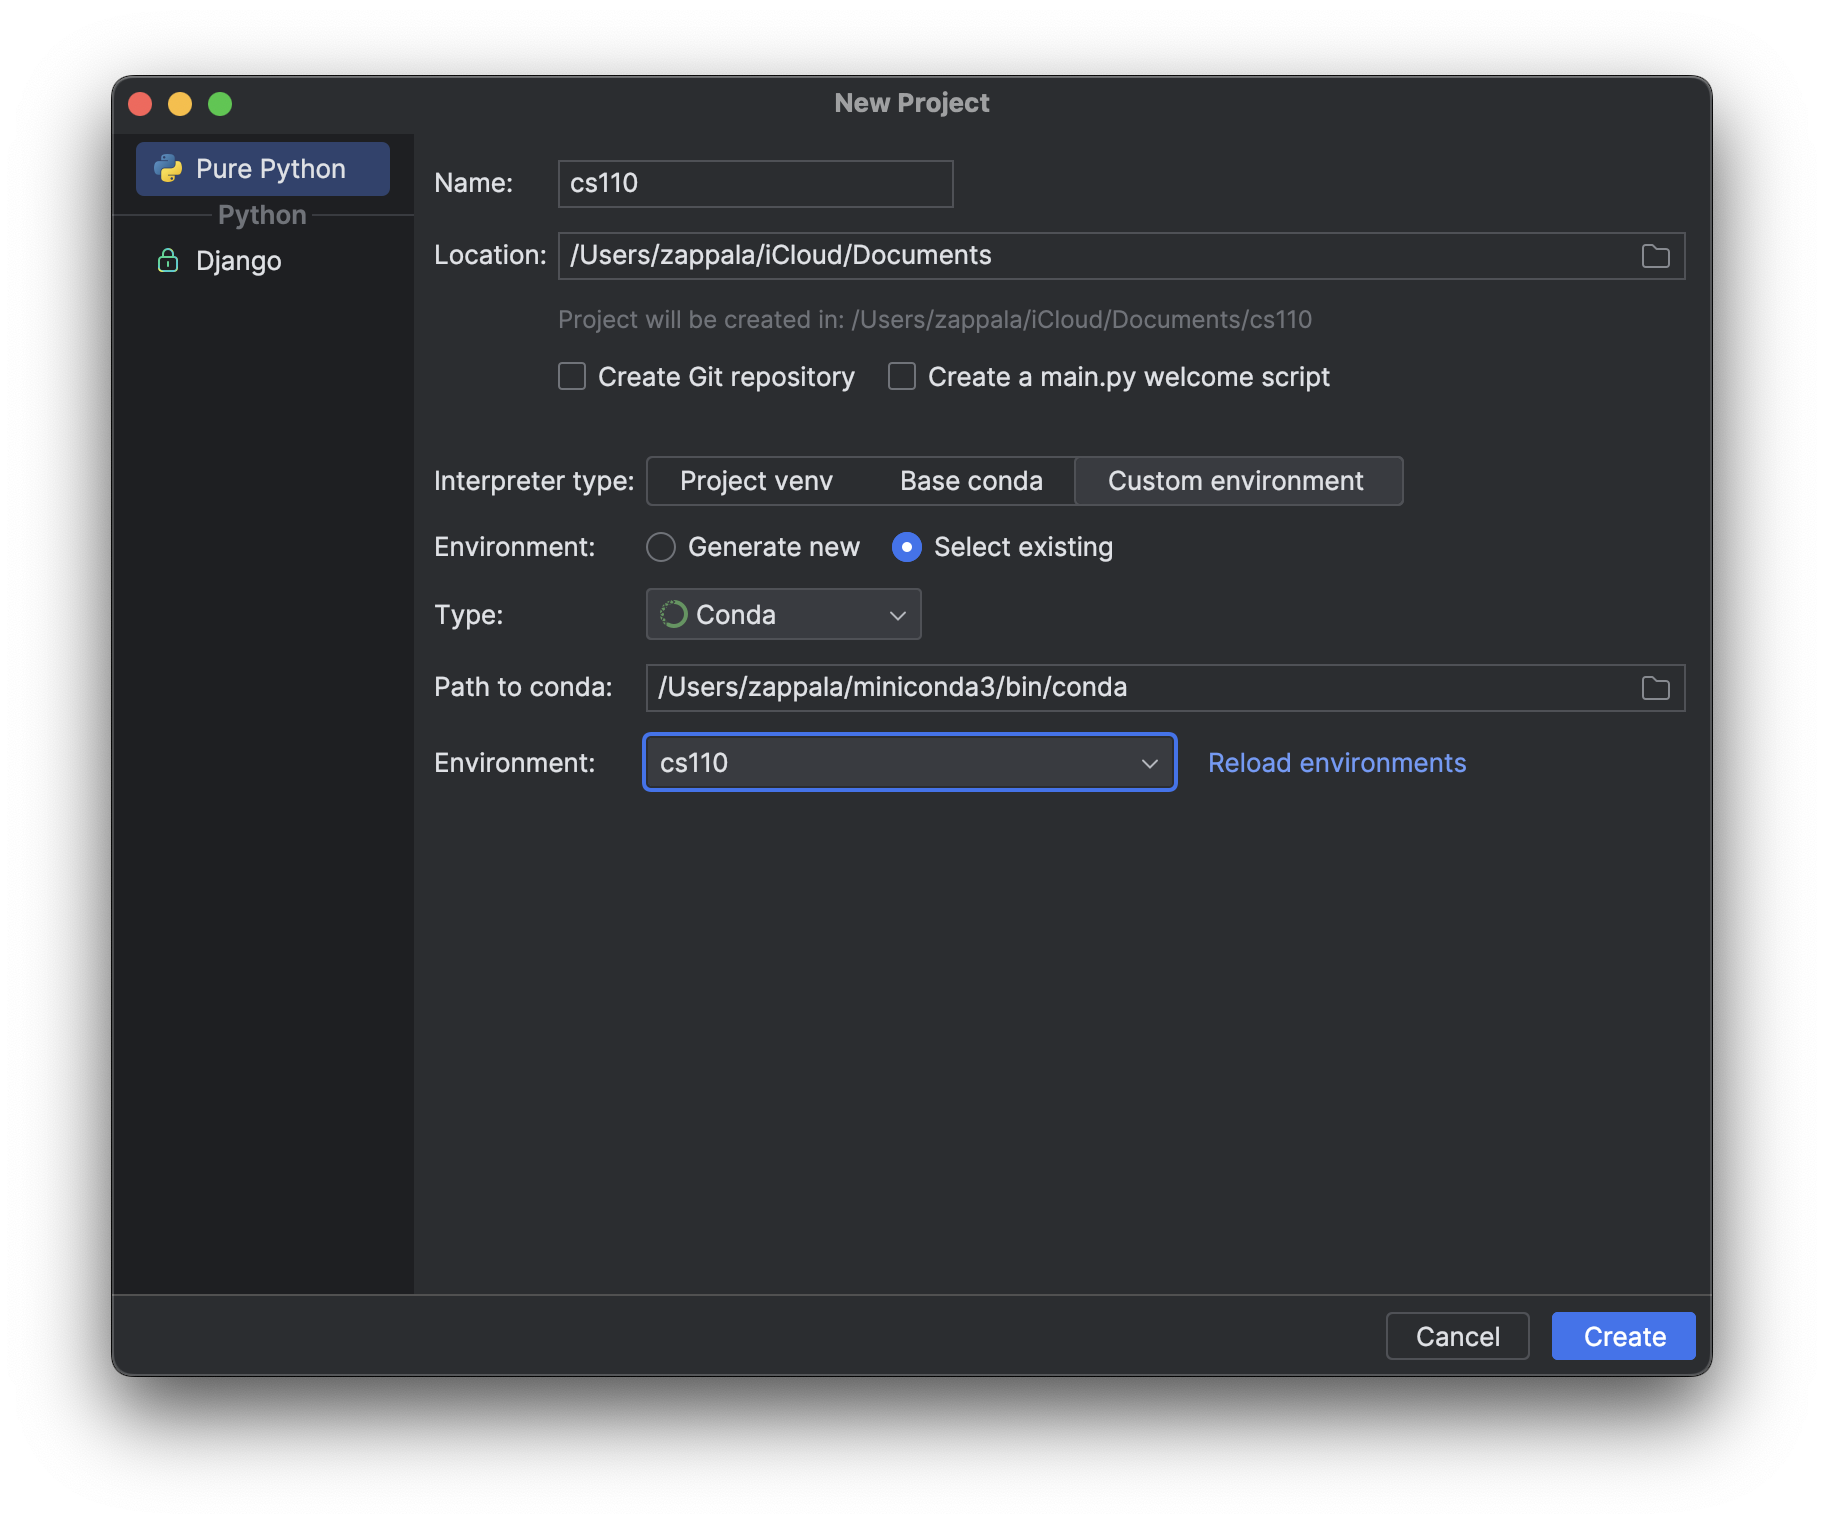
Click the Create button, and you will finish creating your CS 110 project.